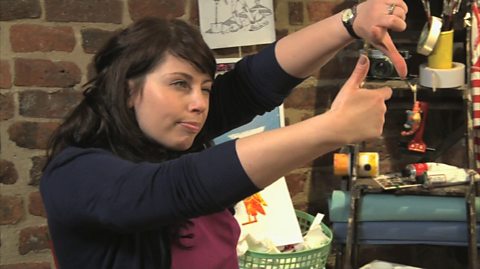
Artist Emma Majury demonstrates some simple printing techniques using widely available materials.
Hello.
People have been makingprints for centuries ancient civilisations all had their own techniques. Today we're going to try and do the same but using everyday objects so let's take a look at what we'll need. We've got some printing ink in different colours spatulas for mixing colours some rollers some glue and a spreader then we've also got some rope some thick card some coloured paper and card some scissors foam board and also some potatoes. Don't worryif you haven't got all of this there's definitely something you'll be able to do.
We've already talked about ancientcivilisations so let's start with someEgyptian hieroglyphs.
If you can keep one area for clean things like drawing and cutting and another area for messy things like gluing and inking up.
"Now let's get started." The first thing we're going to need to do is draw out our hieroglyph on paper. Try tothink carefully about this bit. I've chosen to do an E and an M because my name's Emma. "Maybe you could choose to do the letters from your name as well."
When you're happy with the design then you need to copy it onto your print surface. I'm going to be using half a potato and a marker pen. Now you need to remember that when you print it's going to print the opposite way round so you need to be able to draw your design backwards. Luckily I drew in marker pen so I can just turn my design over and I can see it backwards. If you'd prefer you can place yourdesign on your potato like this and then use a pencil to prick round the design onto the potato and cut it out that way.
Now we need to cut away the potato around the design so it sticks up above the surface. This is called a relief print. You can use a sharp pencil to do this or you can get your teacher to help you with a knife.
"So I've finished carving my potato."
If you don't want to use a potato you could cut your design out of foamboard like this and then stick it onto another piece of foam board to make your printing plate.
OK. Now for the messy bit. This is print-making ink and I'm going to squeeze some of it in this tray. It's best to start with a light colour. "I've chosen yellow but you can mix colours if you prefer." Now I'm going to take the roller and roll it out in the tray so it's nice and even. Now I'm going to roll onto my potato… nice and evenly. You might have to do this a few times.
There we go.
Now let's print.
If you just press the potato down onto your paper… Might have to push a littlebit harder.
Don't worry if they don't all look the same. As you can see the print on the paper comes out the other way round from the design on the potato.
Now to ink up the foam board.
Now when you're printing your foamboard don't lift the block up but put the paper down on top instead… and then gently put some pressure on either with your hand or you can use a clean roller to roll it like this or you can even use the back of a spoon if you don't have a roller.
There we go. That's that one finished.
Now it's time to think about adding some more colour. I want to print my wing and my eyes and my beak in red so I need to cut away the rest of my design. Now be careful. Remember - anything that you cut away won't print.
So that's the potato done. Now for the foam board.
For the foam board you can use a pencil to push in your design for the extra bits. So all the bits that I'm pushing in with the pencil will still be yellow and then everything that's left will print red.
OK. Now it's time for our next ink colour. Take a clean tray… and your next colour of ink I've chosen red… then spread it out again with your roller.
OK so let's ink up our potato first. Take our piece of paper that we've already printed on. Now we're going to try and line this up but don't worry if yours isn't perfect - it's very difficult to do. Press down again. There we go. There we go.
So now for the foam board. And remember we're putting our paper on top of our block this time.
And there we go.
Why not get the whole class involved? You could put everyone's hieroglyphs together and make one giant wall frieze. Experiment with pattern repeats. You could use the same block and repeat it many times and experiment with different shapes like these Aztec patterns.
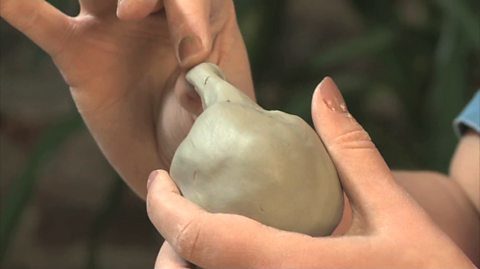
And there are other ways of making prints as well. This one is inspired by Celtic knotwork. I've used some clay and pressed some rope into the design. When I push it down and pull it back out it's left deep marks so these won't print but everything that's still raised up will print. Leave this to dry overnight.
A roller and a bit of ink later… and we've got our lovely negative print.
Video summary
Artist Emma Majury demonstrates how to print Egyptian hieroglyphs using foam, potatoes, card and impressed clay to create different effects and colour combinations.
She also showcases a range of basic printing materials that could be used in a classroom environment.
This is from the series: Schools A&D clips
Teacher Notes
After watching this clip you could get your class to create a beginner’s guide to printing, starting with potato prints, before moving on to slightly more advanced paper printing techniques.
This clip is suitable for teaching Art and Design at KS1 and KS2 in England, Foundation and KS2 in Wales, Foundation KS1 and KS2 in Northern Ireland and Early and 1st Level, 2nd Level in Scotland.
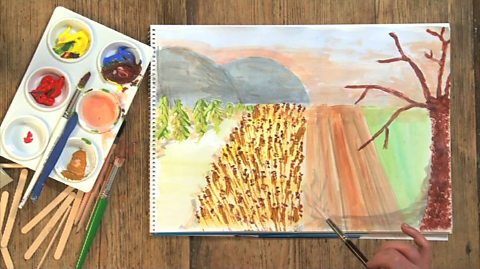
Using different painting techniques for effect. video
Step-by-step guide to painting methods including landscape and abstract images.
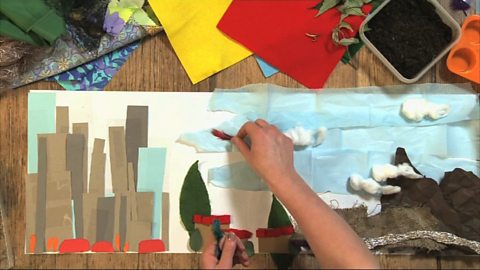
Creating a collage landscape. video
How to use a variety of textured materials to create a landscape collage.
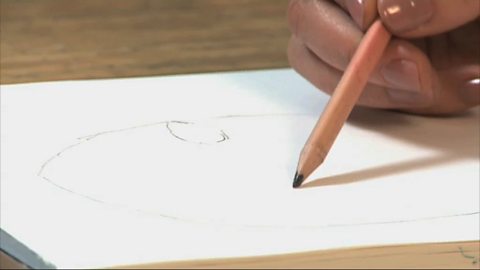
How to draw a lifelike self-portrait or portrait. video
Draw a realistic portrait using proportion, light and shade and balance techniques.
Making sculptures from dry materials and clay. video
A demonstration of how to shape and make dry media and clay sculptures.
How to photograph a moving object. video
Basic camera and photography skills needed to photograph moving objects successfully.